How To Lay A Gravel Driveway
Using gravel on your drive is an attractive and cost effective solution. Additionally a gravel driveway helps reduce the risk of flooding as water can drain away freely unlike concrete or tarmac drives.
Laying a gravel drive is relatively simple but can be hard work! However it is straight forward enough to be undertaken by even a fairly novice DIYer.
We have put together a useful step by step guide to assist you through the process.
Below are the steps this blog will guide you through.
- Step 1 – Remove the existing base
- Step 2 – Create a sub-base
- Step 3 – Lay weed membrane
- Step 4 – Choose your gravel
- Step 5 – Calculate the amount of gravel required
- Step 6 – Lay your gravel
Step 1 – Remove the existing base.
When considering how to build a gravel driveway, you need to take into account the preparation. This is probably the hardest part of the process as potentially involves a lot of digging! Remove the existing base so that you have firm ground underneath (not topsoil).
Take care when digging and ensure there are no service pipes that could be damaged e.g. gas, electricity, water, phone drainage and sewer.
If you are creating a huge driveway then it may be easier to hire a digger or bulldozer to make life easier.
Step 2 – Create a sub-base
Your gravel drive should consist of 3 parts. The sub-base, weed membrane and gravel. The sub-base of the gravel driveway is really important as needs to be able to support heavy loads. It will also help if you have an uneven surface as will create a flat and solid base.
We suggest using a sub-base that consists of various sized pieces of aggregate that compact together such as MOT Type 1.
Ensure you have ordered the correct amount of sub-base, we suggest laying it to at least a depth of 50mm. Normally 1 bulk bag of MOT Type 1 will cover approximately 10m² at this depth.

You can use a wacker plate or roller to compact the sub-base and ideally the base should slope away from your house or garage. This is to help with water run off.
You can put your gravel directly onto the firm soil, though this isn’t recommended as it won’t be a stable base for your gravel driveway. If you are planning to forgo the driveway sub-base, we do suggest using a weed membrane underneath the gravel to keep it clean.
Step 3 – Lay weed membrane
The weed membrane should be laid directly under the gravel on top of the sub-base. Therefore roll your weed barrier out to cover the sub-base or soil and peg into position.

For driveways we recommend using a heavy duty weed membrane such as a polypropylene one. This type of membrane is harder wearing so is more suitable for use on a drive.
You can choose to forgo the weed membrane but this isn’t something we would recommend. Not only will the membrane stop weeds but it will keep your beautiful new driveway gravel cleaner for longer.
Step 4 – Choose your gravel
We have created a handy video on choosing the best gravel for your driveway. Ideally select an decorative aggregate that is hard wearing and angular. Additionally a 14mm or 20mm driveway gravel chipping will create the best surface for your drive.
A 14mm chipping will create a slightly smoother surface, whereas a 20mm chipping will give a more textured look. Anything smaller than 14mm may get stuck in car tyre treads and relocated around your garden or into your house.
We don’t recommend laying a pebble driveway as pebbles are rounded stones that will move around when driven over. A shingle driveway is the same as a gravel driveway and we have a section on our website which lists types of gravel that are suitable for your shingle driveway.
Ensure you have calculated the correct amount of decorative aggregate for your drive. Normally 1 bulk bag will cover approximately 10m² at a depth of 50mm.
There are various types of gravel for driveways. We suggest you choose a hard wearing stone. Examples include Granite, Basalt, Quartz or Flint products. Popular aggregates for drives include any of our Granite Chippings, Golden Gravel, Moonstone, Black Ice and Heritage Quartz.

Step 5 – Calculate the amount of gravel required
For this you will need to accurately measure your area. We suggest getting a length and width measurement and multiplying them together to work out the area in square metres (or square feet). For example if your space measures 3 metres by 5 metres, your driveway area is 15m². As a rough guide we say that 1 bulk bag covers an area of 10m² if you are laying the gravel to a 50mm (5cm) depth.
However we have a gravel calculator on our website which will help you work out how much aggregate you require in either bulk bags or pre-pack poly bags.
If you have an oddly shaped area then you may need to break it down into sections and add them together.
Step 6 – Lay your gravel
If your area is on a slope and you need to lessen the movement of your gravel you can install gravel grid at this stage. It is very quick and easy to install, please see below for our useful video on how to install your gravel grid.
If you don’t use a gravel grid then you can simply tip your gravel onto the base layer and rake into place. We recommend your layer of gravel is around 50mm (5cm) deep. A wheelbarrow is a useful item to move your gravel. Whether it has been delivered in bulk bags or has been loose tipped into your garden, the chances are you will still need to relocate it.
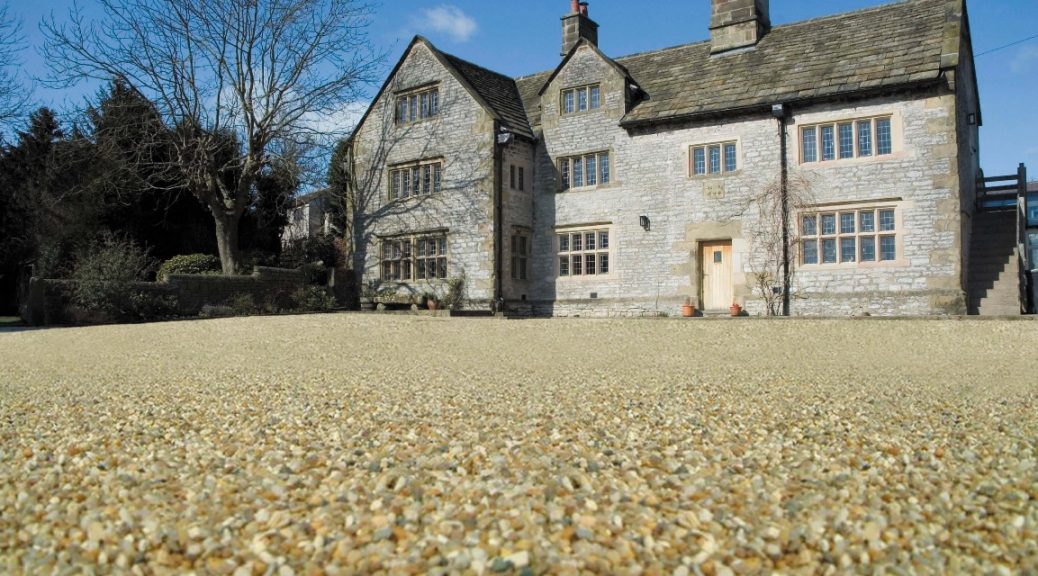
We do suggest rinsing your gravel once laid as this will bring the colours out and give you the best finish for your new decorative gravel driveway.
If you want any help or advice on choosing the right stone for your gravel driveway, please give our friendly sales team a call on 01629 636212.